
Capturing your cap collection through professional photography techniques requires attention to detail and the right equipment. With the right approach, you can showcase your collection in the best possible light, highlighting the unique features of each item.
To achieve high-quality photos, it’s essential to understand lighting and composition. By experimenting with different angles and incorporating props, you can create visually appealing images that elevate your collection. Whether you’re a seasoned collector or just starting out, photographing caps professionally can make your collection stand out.
Understanding the Essentials of Cap Photography
To photograph your caps effectively, you need to understand the fundamental principles of photography. This involves working with natural light, which is soft and diffused, reducing harsh shadows and reflections on the cap’s surface.
A simple background is also crucial as it helps to focus attention on the cap. Avoid cluttered or brightly colored backgrounds that can distract from the subject. Instead, opt for a neutral tone that complements the cap’s color.
Creative composition is another key element. Experiment with different angles and perspectives to add visual interest. For example, shooting from directly above or at an angle can highlight the cap’s design and features.
By applying these cap photography tips, you can create visually appealing images that showcase your collection from the best angles, capturing the essence of your caps for professional collection photography.
Essential Equipment for Professional Cap Photography
Professional cap photography requires a specific set of equipment to showcase your collection effectively. To photograph your collection professionally, you’ll need a few key pieces of gear.
A DSLR camera or a high-quality smartphone camera is essential for capturing detailed images of your caps. The camera should be capable of producing high-resolution photos with good lighting sensitivity.
A tripod is another crucial piece of equipment, as it provides the stability needed to take sharp photos without camera shake. This is particularly important when using a camera with a macro lens or when shooting in low light conditions.
In addition to a camera and tripod, proper lighting equipment is necessary to achieve evenly lit photos. Softboxes or a light tent can help to diffuse the light and reduce harsh shadows, highlighting the cap’s features and textures.
By investing in these essential pieces of equipment and mastering professional cap photography techniques, you’ll be well on your way to capturing stunning images of your cap collection.
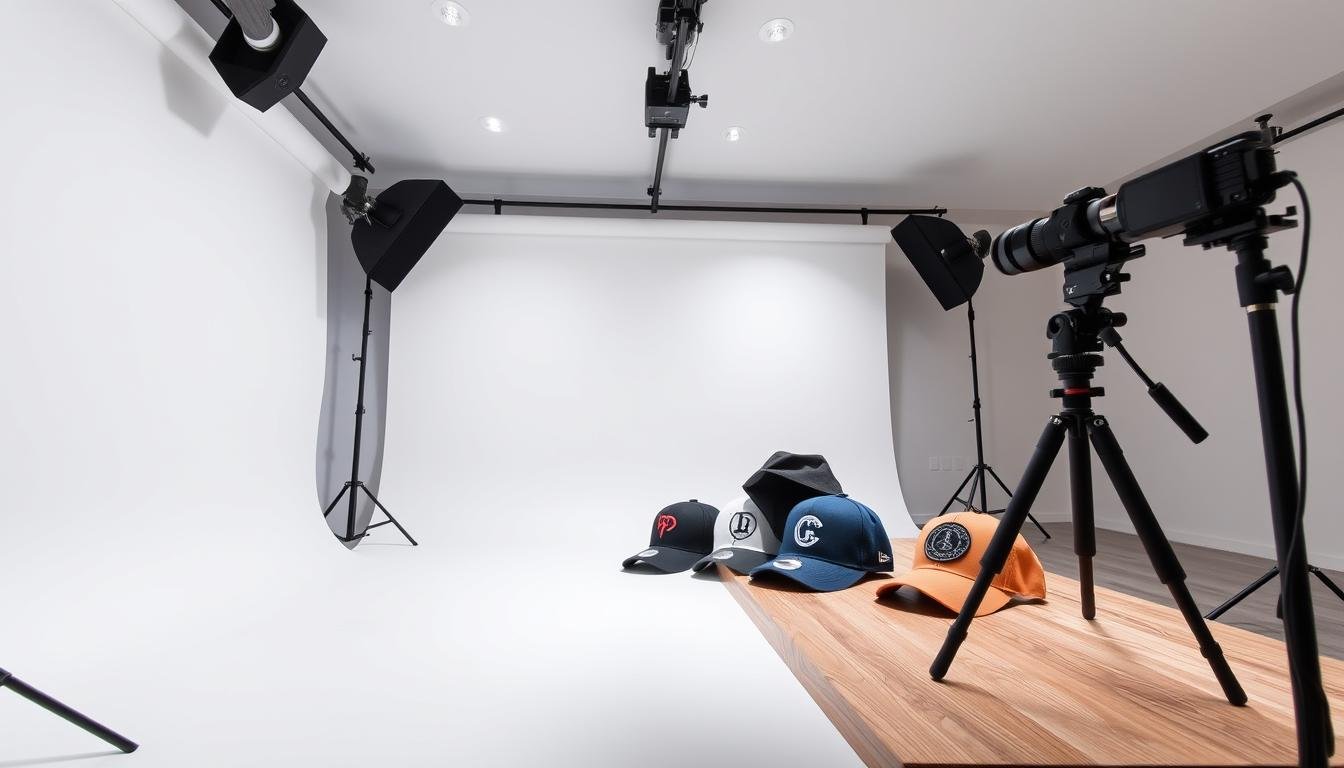
Setting Up Your Photography Space
To photograph your caps professionally, setting up a dedicated photography space is essential. This involves creating a clean and clutter-free area that allows your caps to be the focal point.
Key Elements of a Photography Space:
- Choose a background that complements your caps, such as a neutral-colored wall or a themed backdrop.
- Ensure adequate lighting; natural light is ideal, but if that’s not possible, invest in quality lighting equipment.
- Use a sturdy table or surface to display your caps, keeping them organized and easily accessible.
By focusing on these elements, you can create a photography space that enhances your capturing collection images and makes your caps look their best. Here are some cap photography tips to keep in mind:
When photographing caps, pay attention to the details. Make sure the caps are clean and positioned in a way that showcases their unique features. Experiment with different angles and compositions to add visual interest to your photos.
Lighting Techniques for Cap Photography
The right lighting can make or break your cap photography, elevating it from ordinary to extraordinary. Effective lighting techniques are crucial for showcasing the intricate details and textures of your caps.
Soft, diffused lighting is often preferred for cap photography as it minimizes harsh shadows and reflections, ensuring that the caps’ details are clearly visible. You can achieve this type of lighting using softboxes or a light tent. Alternatively, natural light on an overcast day can provide a soft, diffused illumination.
When setting up your lighting, consider the position and angle of the light sources. Experimenting with different configurations can help you find the optimal setup for your cap photo shoot. For instance, placing a softbox above and to the side of your cap can create a balanced lighting effect.
Some cap photo shoot tips include using a light tent to diffuse the light around your cap, reducing reflections, and adjusting the lighting to accentuate the cap’s features. By mastering these professional cap photography techniques, you can significantly enhance the quality of your cap images.
Remember, the goal of photographing caps is to showcase their unique characteristics and appeal. By applying the right lighting techniques, you can create visually appealing images that highlight the beauty and detail of your cap collection.
Composition Strategies for Showcasing Caps
Capturing the essence of your cap collection requires more than just a camera; it demands an eye for composition. Effective composition strategies can elevate your cap photography, making your collection stand out.
Experimenting with different angles is a great way to add variety to your cap photography. Shooting from above or at an angle can provide a fresh perspective on your caps. For instance, a top-down view can highlight the cap’s design and logos, while a low-angle shot can emphasize its shape and structure.
Using negative space effectively is another crucial composition strategy. By isolating your caps against a clean background, you can draw the viewer’s attention directly to the subject. This technique is particularly useful for showcasing individual caps or highlighting specific details.
Incorporating props or contextual elements can add storytelling and interest to your images. For example, placing a cap near related items like sports equipment or fashion accessories can provide context and enhance the visual appeal.
| Composition Strategy | Description | Benefit |
|---|---|---|
| Experimenting with Angles | Shooting from different perspectives | Adds variety to your photos |
| Using Negative Space | Isolating caps against a clean background | Draws attention to the subject |
| Incorporating Props | Adding related items to the scene | Provides context and interest |
By mastering these composition strategies, you can significantly enhance the quality of your cap photography, making your collection images truly stand out.
Cap Photography – How to Photograph Your Collection Professionally: Step-by-Step Process
To showcase your caps professionally, follow a step-by-step photography process that highlights their best angles. This process ensures that you capture a comprehensive view of your cap collection, making it ideal for showcasing or selling.
Front View Techniques
Start by photographing the front of your cap. This is the most straightforward shot and provides an overall view of the cap’s design and features. Use a clean, neutral background to make the cap stand out. Ensure the cap is centered and well-lit, with no harsh shadows or reflections. Experiment with different angles, such as tilting the cap slightly, to add some visual interest.
After capturing the front view, move on to side shots that highlight the cap’s profile and any unique features such as the brim, strap, or button on top. These shots provide additional context and can help potential buyers or admirers appreciate the cap’s design and craftsmanship. Don’t forget to capture detail shots of elements like logos, stitching, or other distinctive details that make your cap special.
By following this step-by-step process, you can create a visually appealing and comprehensive portfolio of your cap collection. Whether you’re showcasing your collection online or in a physical setting, these professional cap photography techniques will help you present your caps in the best possible light.
Camera Settings for Optimal Cap Images
To capture your cap collection professionally, understanding and adjusting your camera settings is crucial. Mastering the right camera settings can significantly enhance the quality of your cap photography.
When it comes to professional cap photography techniques, starting with the basics is essential. Begin with setting a low ISO to minimize noise and ensure your images are clean and sharp. A low ISO is particularly important when photographing caps with intricate details or logos.
Next, adjust your aperture to achieve the desired depth of field. A medium to small aperture (higher f-stop number) is generally recommended to keep the cap in focus while slightly blurring the background. This setting helps in creating a professional-looking image that highlights the cap’s features.
Shutter speed is another critical factor in capturing collection images. Adjust your shutter speed according to the lighting conditions to prevent blur and ensure sharp images. Faster shutter speeds are ideal for bright lighting conditions, while slower speeds may be necessary in lower light environments.
By understanding and adjusting these camera settings, you can achieve high-quality photos that showcase your caps in the best possible light. Experimenting with different settings and practicing will help you develop your own cap photography tips and techniques tailored to your collection.
Mobile Photography for Cap Collections
With the advancements in smartphone technology, capturing your cap collection has never been easier. Mobile photography offers a convenient and high-quality way to document your caps, allowing you to share your collection with others or keep a personal record.
Key Considerations for Mobile Cap Photography
- Use a smartphone with a good camera.
- Pay attention to lighting to avoid harsh shadows or overly bright spots.
- Experiment with different angles and compositions to add visual interest.
- Utilize editing apps to enhance your images.
When it comes to photographing caps, the key is to showcase the details and unique features of each cap. Consider using a plain background to make your caps stand out. Additionally, cap photography tips include using natural light when possible and avoiding clutter in the frame.
| Feature | Smartphone Tip | Benefit |
|---|---|---|
| Camera Quality | Use the highest resolution setting. | Clear and detailed images. |
| Lighting | Utilize natural light or invest in a lighting kit. | Evenly lit photos with minimal shadows. |
| Editing | Use editing apps like Snapseed or Lightroom. | Enhanced colors and contrast. |
By following these capturing collection images tips, you can create a stunning visual record of your cap collection. Whether you’re sharing your collection online or keeping a personal archive, mobile photography makes it easy to capture high-quality images.
Photographing Caps for Different Purposes
The art of cap photography is nuanced, with different purposes demanding distinct approaches. Whether you’re capturing images for an e-commerce platform, a personal album, or a showcase, understanding the purpose behind your photography is crucial.
For e-commerce purposes, the focus is on showcasing the cap from multiple angles, highlighting its features, and providing a clear view of the product. This involves using professional cap photography techniques to ensure high-quality images that appeal to potential buyers.
In contrast, photographing caps for personal albums or displays allows for more creative freedom. Here, you can focus on cap photo shoot tips that emphasize storytelling and aesthetic appeal, creating a narrative around the caps.
| Purpose | Photography Focus | Key Techniques |
|---|---|---|
| E-commerce | Showcasing features, multiple angles | High-quality images, clear product view |
| Personal Albums/Displays | Creative compositions, storytelling | Aesthetic appeal, narrative creation |
Understanding the purpose of your photographing caps project helps tailor your approach, ensuring that the final images meet your objectives. By adapting your techniques to the intended use, you can achieve more effective and engaging cap photography.
Post-Processing Techniques for Cap Photography
To take your cap photography to the next level, mastering post-processing is essential. Post-processing techniques can significantly enhance the quality of your images, making your cap collection stand out.
Adjusting Key Image Parameters
One of the primary steps in post-processing is adjusting the brightness, contrast, and saturation of your images. Adjusting these parameters can help improve the overall appearance of your cap photos, making them more visually appealing.
- Brightness adjustment helps in making the image clearer.
- Contrast adjustment enhances the difference between light and dark areas.
- Saturation adjustment can make the colors more vibrant.
Removing Imperfections
Another crucial step is removing blemishes or dust from your cap images. Using editing software, you can easily eliminate unwanted spots or marks, ensuring your caps look their best.
By applying these post-processing techniques, you can elevate your cap photography and make your collection stand out. Whether you’re capturing collection images for personal enjoyment or professional collection photography for sale, post-processing is key to presenting your caps in the best possible light.
Tips for Effective Post-Processing
To get the most out of your post-processing efforts, it’s essential to work on a copy of your original image, keep your edits subtle, and compare your edited image with the original to ensure the enhancements are improving the image.
Troubleshooting Common Cap Photography Problems
Achieving high-quality cap images requires overcoming common photography challenges. Despite meticulous planning, issues such as harsh lighting, unwanted reflections, and distracting backgrounds can arise during a cap photo shoot.
Harsh lighting can create unflattering shadows on your cap. To mitigate this, adjust your lighting setup to provide soft, diffused light. This can be achieved by using diffusers or softboxes.
Reflections on the cap’s surface can be distracting. Using a polarizing filter can significantly reduce these reflections, ensuring the cap’s details are clearly visible.
A cluttered or distracting background can detract from the cap. Simplify your background by using a plain colored backdrop or removing any unnecessary elements from the scene.
By understanding how to troubleshoot these common problems, you can achieve professional-looking cap photos. Implementing these cap photo shoot tips and professional cap photography techniques will enhance the quality of your images, making your cap collection stand out.
Advanced Techniques for Collector Showcases
For seasoned collectors, showcasing a cap collection involves more than just documenting the caps; it’s about telling a story and creating a visual narrative. By applying professional cap photography techniques, collectors can create engaging and dynamic showcases that highlight the uniqueness and value of their cap collections.
Capturing collection images effectively requires creative compositions and contextual elements that add depth to the display. Experimenting with different display methods and incorporating cap photography tips can help collectors achieve high-quality images that stand out.
Using context to enhance the display of caps can involve setting up a themed background or incorporating props that resonate with the cap’s brand or history. By doing so, collectors can create a narrative that adds value to their collection and makes it more relatable to the viewer.
By mastering advanced cap photography techniques, collectors can elevate their collection showcases, making them more engaging and memorable. This not only enhances the visual appeal but also showcases the collector’s passion and dedication to their craft.